 Language
 English
 français
 Deutsch
 русский
 español
 português


What Are You Looking For?

Heavy metal clunk
Quick check method: Wiggle tire vertically
High-pitched squeak
Quick check method: Spray silicone lube on bushings
Tinny rattle
Quick check method: Shake sway bar by hand

READY FOR A SUBSCRIPTION?
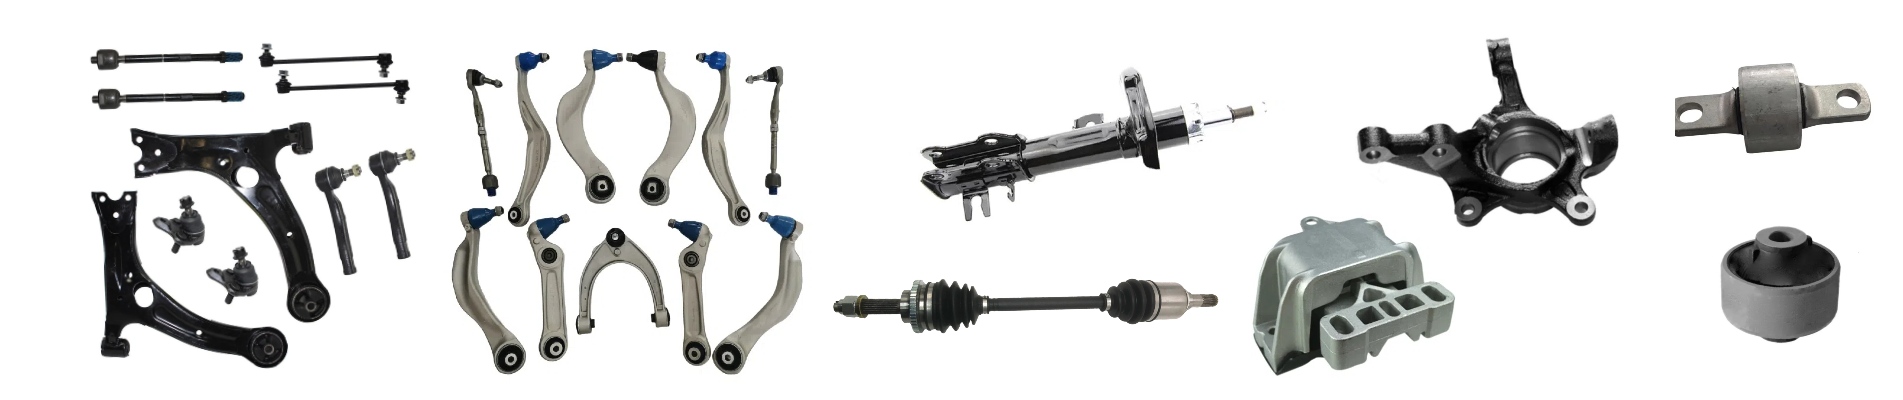
SMK company supply auto parts for below car aftermarket parts: Japanese car: Toyota, Honda, Nissan, Mazda, Subaru, Mitsubishi, Suzuki, Isuzu... European car: BMW, Benz, VW, Audi, Skoda, Porsche, Maserati, Renault, Peugeot, Citroen, Fiat, Opel, Land Rover... American car: Tesla, Ford, Chrysler, Cadillac, Buick, GMC, Chevrolet, Lincoln, Fiat, Dodge, ... Korean car: Hyundai, Kia, Daewoo... Chinese car: Chery, Geely, GreatWall, Haval, BYD, Changan, JAC... We supply parts worldwide: USA, Canada, Europe, Mexico, Colombia, Korea... We are leading supplier for below auto parts: Suspension & Steering Parts(Control Arm, Steering Tie Rod, Stabilizer Link...) Tesla Aftermarket Parts. Engine Mounting/Transmission Mount SMK Auto parts is specifically designed for the automotive repair parts. Our chassis components undergo rigorous testing to easily withstand the complex and variable road conditions and climate. The products not only offer exceptional durability but also provide broad compatibility and excellent stability, ensuring long-term, reliable support for your vehicles. Many overseas clients have established long-term partnerships with us. With the continuous accumulation of customer resources, many overseas clients entrust us with the production of various types of automotive parts products. In order to meet the diversified needs of customers, we have actively expanded new product lines. We adhere to high manufacturing standards, ensuring each product meets the strict safety and durability requirements of different markets. We invite customers from worldwide to choose our products and provide stronger protection and performance upgrades for your vehicles! SMK always adhere to customer-centric, continuously improve product quality and service levels, and strive to create greater value for global customers. In the future, we will continue to adhere to the principle of “quality first, customer first” and work hand in hand with our partners to create a better future.
 IPv6 network supported