 Language
 English
 français
 Deutsch
 русский
 español
 português


What Are You Looking For?

The function of the suspension control arms of your vehicle is to connect the wheels to the frame and function as an essential part of the suspension system. The control arm acts as a mounting point for the wheel and complete suspension assembly. Due to their location, control arms are constantly subjected to harsh environments, road debris, and shocks. Over time, this leads to wear, and you have to replace your control arms.
However, if you are planning to replace the control arm yourself, it can be difficult and tricky if the parts are corroded or if the ball joint is damaged. Replacing a control arm requires a little experience and some tools, but can be easy if you have worked on your vehicle before. If you are witnessing symptoms of control arm failure, you should install a new control arm. This stepwise control arm replacement guide will help you replace your old, worn-out control arm with a new one.
Reattach the sway bar link you removed earlier. After doing this, insert the lower ball joint of the control arm into the steering knuckle. Ensure the ball joint is seated on the steering knuckle properly by using a hammer. Hand-tighten the castle nut or the pinch bolt that holds the control arm ball joint to the steering knuckle. Also, hand-tighten the sway bar link and other hardware. Tighten all the control arm ball joints and sway bar nuts and bolts to the recommended torque specifications using a torque wrench. Insert the cotter pin underneath the ball joint and castle nut.
The last step is to align the wheels of your vehicle. It is important to get a wheel alignment done after replacing control arms or changing other suspension components.
The short answer is yes. If the left control arm is worn out or the bushing is torn and making noise, it’s safe to assume that the right control arm bushings are just as worn or will fail soon. Worn bushings can lead to abnormal tire wear, or the steering wheel may be off-center while the vehicle is traveling straight down the road. Changing the control arms in pairs is always a good idea, as it will save you future repair costs and new tires because of the uneven wear. While changing control arms, you can also replace your old bushings with new ones and go for polyurethane bushings, which offer better performance compared to rubber bushings. Read more about polyurethane vs rubber suspension bushings.
Some reasons why you should replace your complete control arm assembly instead of just the ball joints are mentioned below.

READY FOR A SUBSCRIPTION?
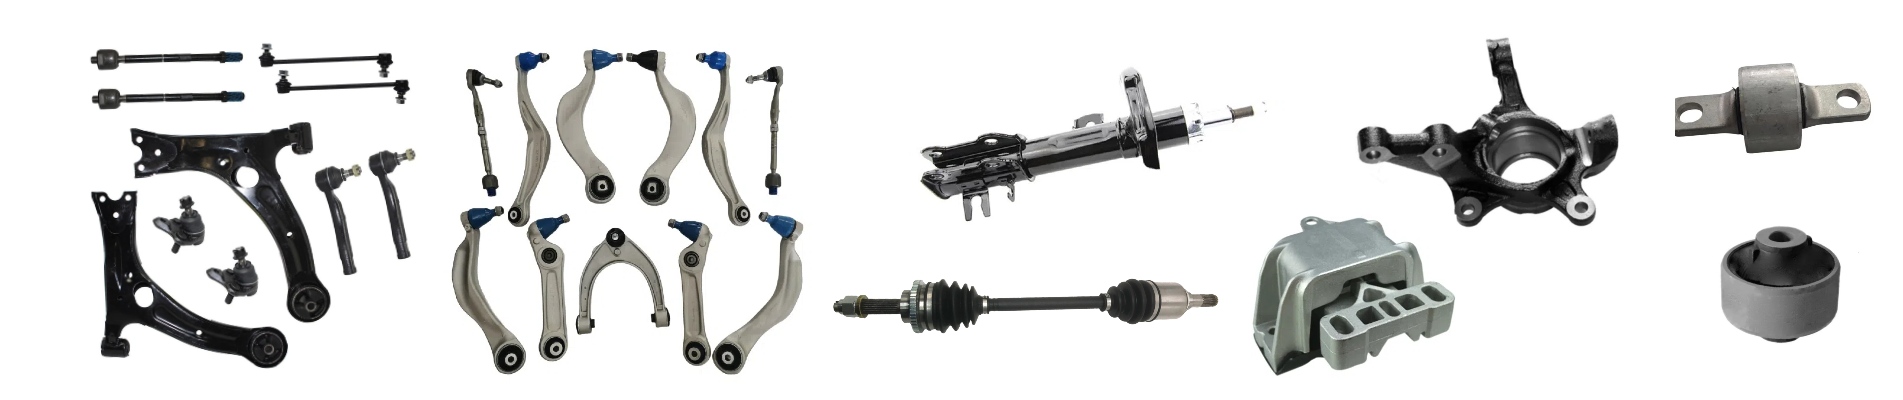
SMK company supply auto parts for below car aftermarket parts: Japanese car: Toyota, Honda, Nissan, Mazda, Subaru, Mitsubishi, Suzuki, Isuzu... European car: BMW, Benz, VW, Audi, Skoda, Porsche, Maserati, Renault, Peugeot, Citroen, Fiat, Opel, Land Rover... American car: Tesla, Ford, Chrysler, Cadillac, Buick, GMC, Chevrolet, Lincoln, Fiat, Dodge, ... Korean car: Hyundai, Kia, Daewoo... Chinese car: Chery, Geely, GreatWall, Haval, BYD, Changan, JAC... We supply parts worldwide: USA, Canada, Europe, Mexico, Colombia, Korea... We are leading supplier for below auto parts: Suspension & Steering Parts(Control Arm, Steering Tie Rod, Stabilizer Link...) Tesla Aftermarket Parts. Engine Mounting/Transmission Mount SMK Auto parts is specifically designed for the automotive repair parts. Our chassis components undergo rigorous testing to easily withstand the complex and variable road conditions and climate. The products not only offer exceptional durability but also provide broad compatibility and excellent stability, ensuring long-term, reliable support for your vehicles. Many overseas clients have established long-term partnerships with us. With the continuous accumulation of customer resources, many overseas clients entrust us with the production of various types of automotive parts products. In order to meet the diversified needs of customers, we have actively expanded new product lines. We adhere to high manufacturing standards, ensuring each product meets the strict safety and durability requirements of different markets. We invite customers from worldwide to choose our products and provide stronger protection and performance upgrades for your vehicles! SMK always adhere to customer-centric, continuously improve product quality and service levels, and strive to create greater value for global customers. In the future, we will continue to adhere to the principle of “quality first, customer first” and work hand in hand with our partners to create a better future.
 IPv6 network supported