 Language
 English
 français
 Deutsch
 русский
 español
 português


What Are You Looking For?
In general, when the transparent outer shell of the front part of a car headlight is damaged, the conventional repair is to replace the headlight assembly with a new one. However, the price of a new headlight assembly is relatively expensive. If there is insurance, replacing the headlight can be done, but if there is no insurance, it is not willing to replace the assembly.
What should we do about this? Many people are unaware that some headlight casings can be replaced. This time, let's take a look at the process of replacing the transparent casing of the headlights.

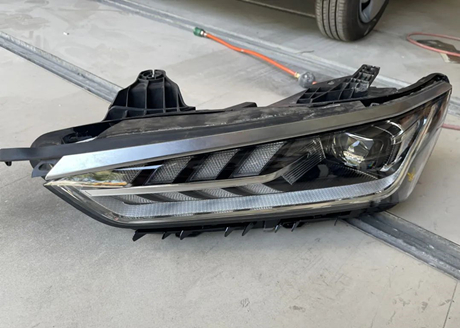
The transparent shell of the headlight has a very obvious large hole, as shown in the picture.

The picture below shows the new headlight casing. The technician said it is the original headlight casing, which is much more expensive than the non original one.

The transparent shell of the headlight is very firmly attached to the black plastic at the rear, with good sealing, making it very difficult to remove directly. Therefore, the mechanic used a grinder to cut off the transparent shell.
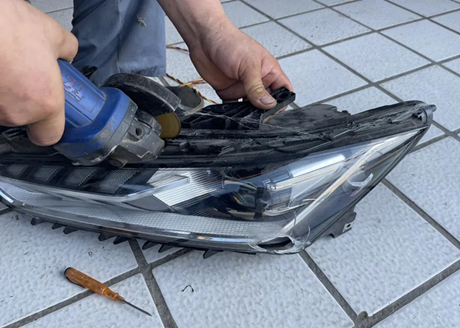
When cutting off the transparent shell, some impurities enter the headlight and need to be blown out with high-pressure air later. At this point, there is still a part of the transparent shell inside the rear shell, which is firmly fixed with sealant.

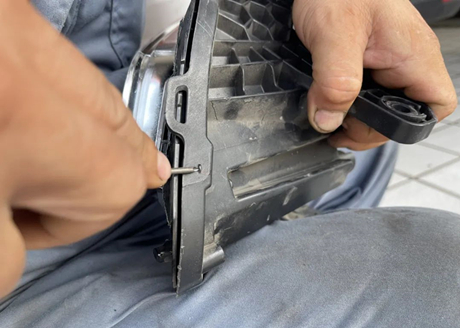
There are hidden U-shaped metal strips fixed on the side of the rear shell groove, which need to be removed.
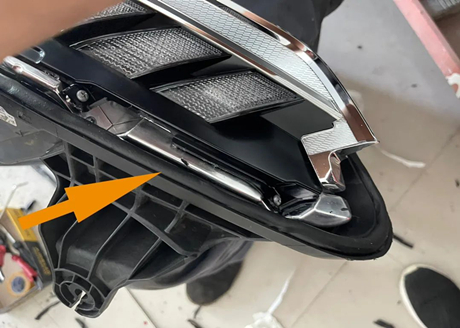
Blow the groove clean with high-pressure air, and also blow the inside of the headlights clean, as shown in the following picture.

After blowing clean, place the sealing strip as indicated by the arrow in the following figure. Pay attention to reserving the rubber sleeve interface at the lower part of the headlight to prevent water from entering the headlight due to poor sealing of the sealing ring interface.
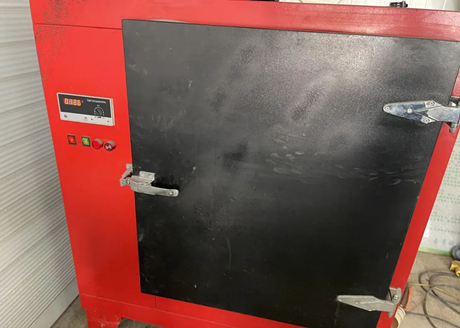
After inserting the sealing strip, place the headlight in the oven. The technician said it will take about ten minutes to soften the sealing strip.
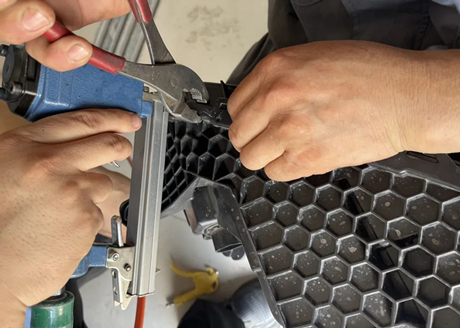
Ten minutes later, remove the headlights and align the new casing with the groove. Next, two mechanics need to cooperate. One mechanic uses a carp clamp to clamp the rear and front shells, while the other mechanic inserts a U-shaped steel wire strip.
As shown in the figure below, the new transparent shell has been combined with the black rear shell.
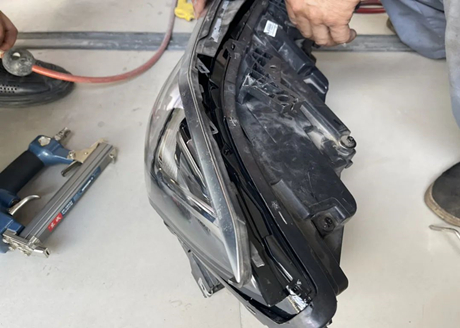
This is the repaired headlight.
This is the headlight of BYD Qin PLUS.

READY FOR A SUBSCRIPTION?
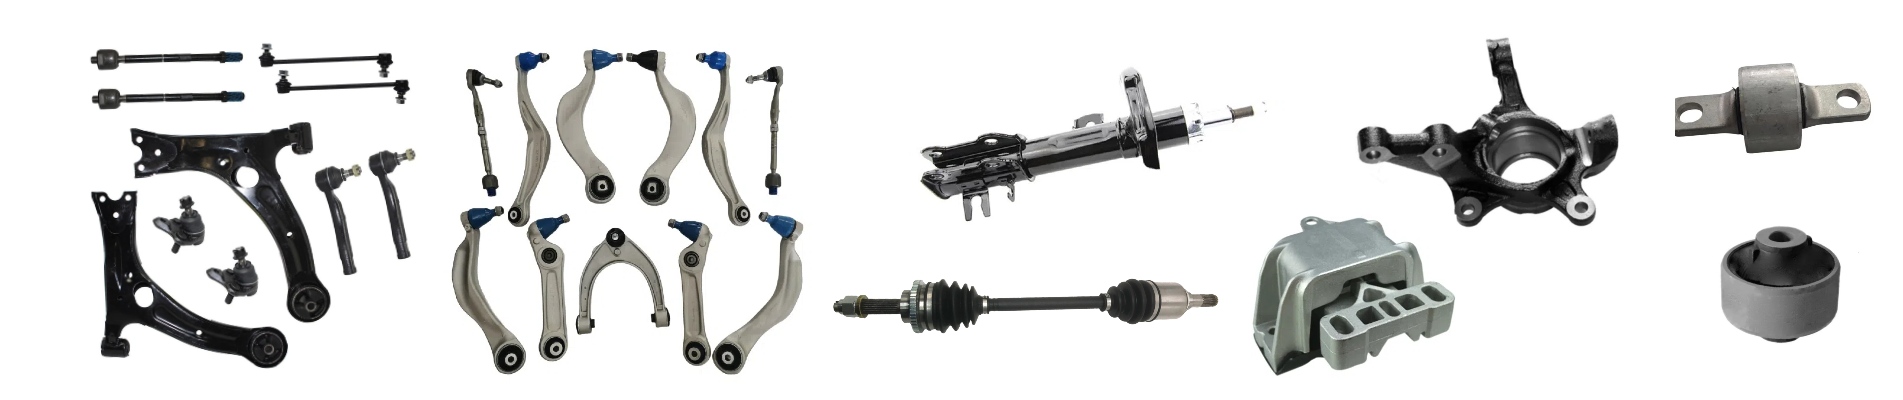
SMK company supply auto parts for below car aftermarket parts: Japanese car: Toyota, Honda, Nissan, Mazda, Subaru, Mitsubishi, Suzuki, Isuzu... European car: BMW, Benz, VW, Audi, Skoda, Porsche, Maserati, Renault, Peugeot, Citroen, Fiat, Opel, Land Rover... American car: Tesla, Ford, Chrysler, Cadillac, Buick, GMC, Chevrolet, Lincoln, Fiat, Dodge, ... Korean car: Hyundai, Kia, Daewoo... Chinese car: Chery, Geely, GreatWall, Haval, BYD, Changan, JAC... We supply parts worldwide: USA, Canada, Europe, Mexico, Colombia, Korea... We are leading supplier for below auto parts: Suspension & Steering Parts(Control Arm, Steering Tie Rod, Stabilizer Link...) Tesla Aftermarket Parts. Engine Mounting/Transmission Mount SMK Auto parts is specifically designed for the automotive repair parts. Our chassis components undergo rigorous testing to easily withstand the complex and variable road conditions and climate. The products not only offer exceptional durability but also provide broad compatibility and excellent stability, ensuring long-term, reliable support for your vehicles. Many overseas clients have established long-term partnerships with us. With the continuous accumulation of customer resources, many overseas clients entrust us with the production of various types of automotive parts products. In order to meet the diversified needs of customers, we have actively expanded new product lines. We adhere to high manufacturing standards, ensuring each product meets the strict safety and durability requirements of different markets. We invite customers from worldwide to choose our products and provide stronger protection and performance upgrades for your vehicles! SMK always adhere to customer-centric, continuously improve product quality and service levels, and strive to create greater value for global customers. In the future, we will continue to adhere to the principle of “quality first, customer first” and work hand in hand with our partners to create a better future.
 IPv6 network supported